When using Printer Friendly or Download as PDF, Ragic supports setting headers and footers on the Form Page for printing, allowing you to customize the fixed content displayed on each page, such as the company header, descriptive text, or page numbers. In addition, you can insert a Page Break component into the sheet to automatically split the pages at specified positions.
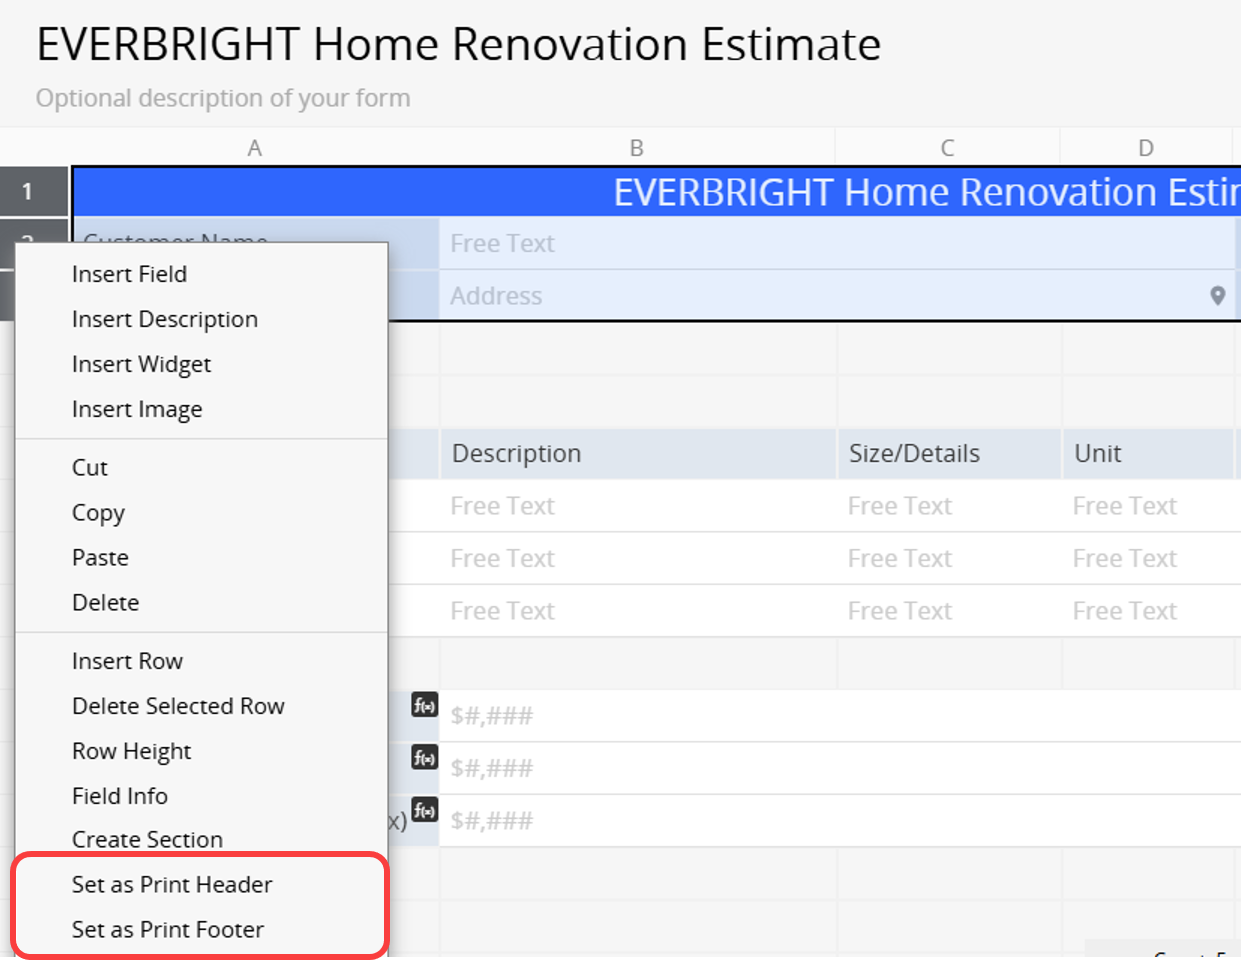
In the Form Page's Design Mode, select the top or bottom rows containing Independent Fields or Description Fields. You can select multiple rows for the print range, with the header including the first row and the footer including the last row. After selecting the rows, right-click the left side and choose Set as Print Header or Set as Print Footer.
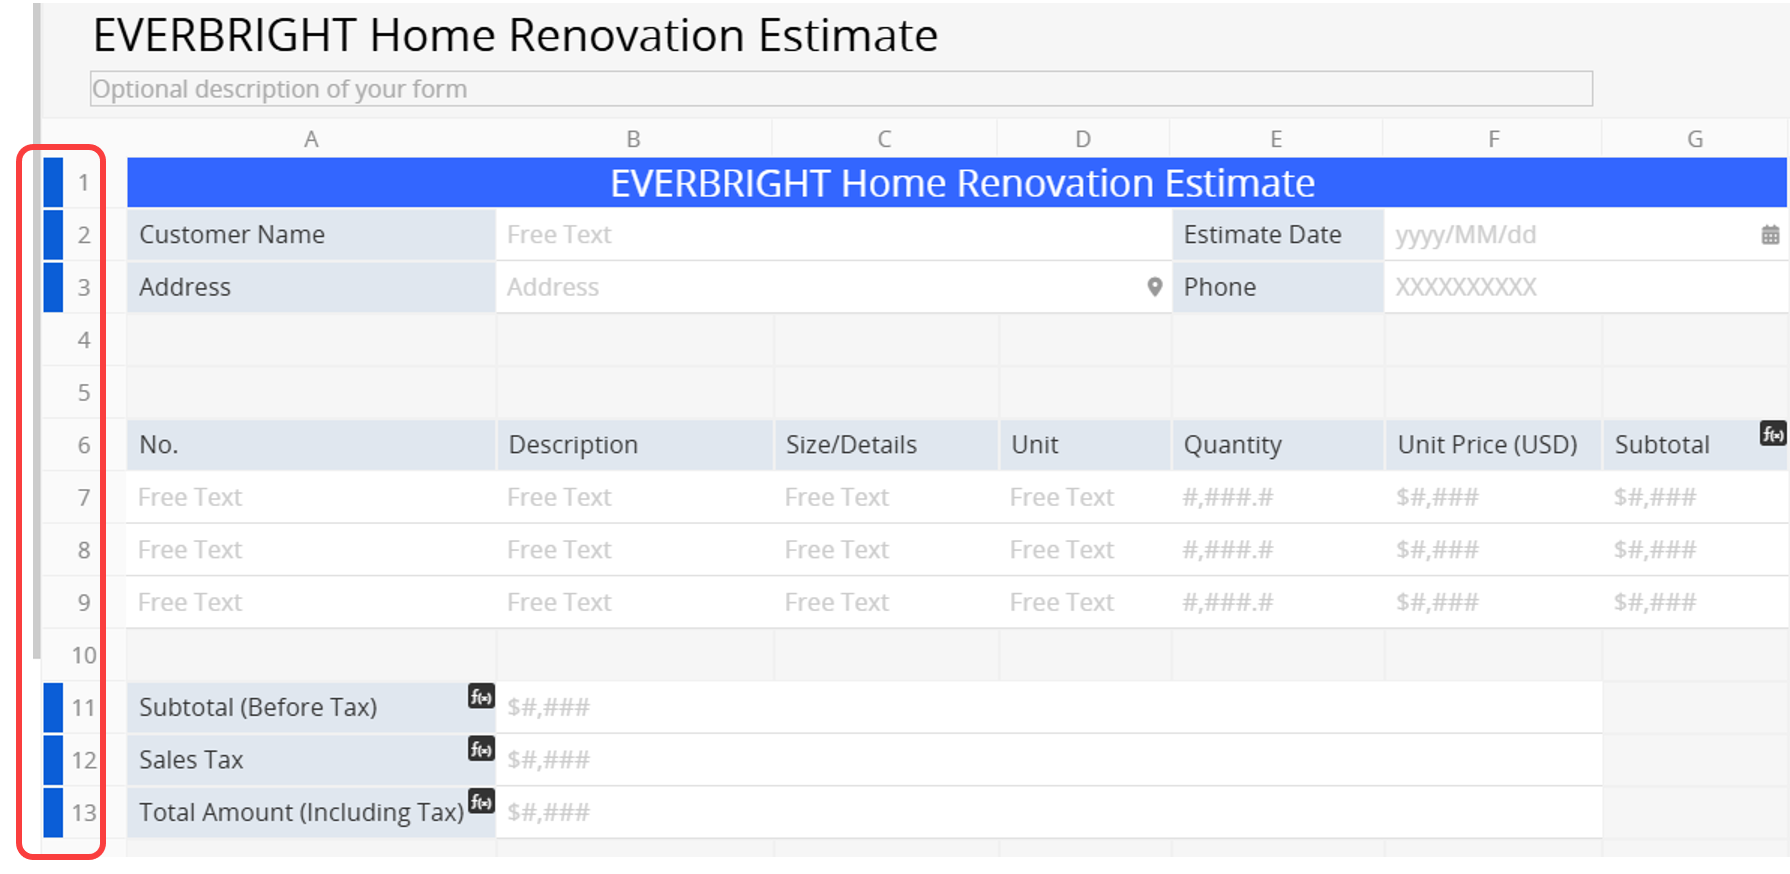
The selected rows will be highlighted in blue on the left for easy identification.
If the range doesn’t include the first row (for the header) or the last row (for the footer), the system will prompt you to adjust the selection.

Once configured, the header and footer will appear on every page in Printer Friendly and Download as PDF, with page numbers added automatically.
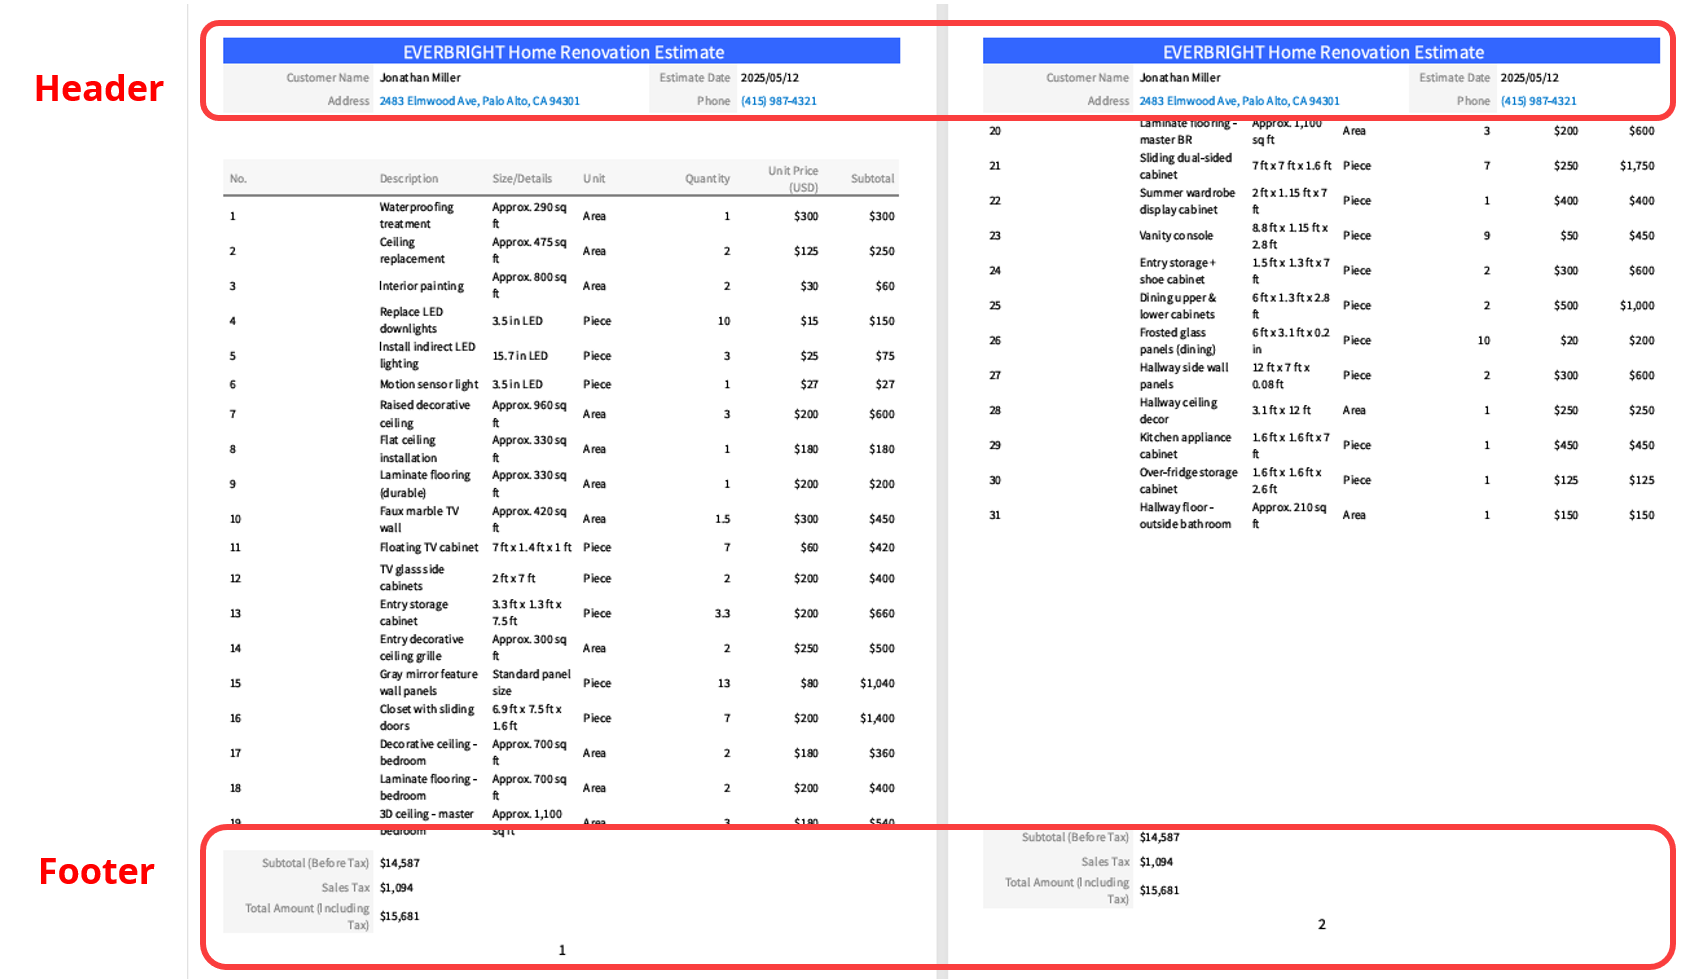
If you only want to display page numbers without fixed content, you can add a Description Field with a space in the first row and set that row as the header.

Note:
1. Only rows that include the first row (for the header) or the last row (for the footer), containing Independent Fields or Description Fields, can be set.
2. Subtables and Section Fields cannot be included in the header or footer.
3. The header and footer settings apply only to Printer Friendly and Download as PDF. If you are using Mail Merge or Custom Print Report, please refer to this documentation.
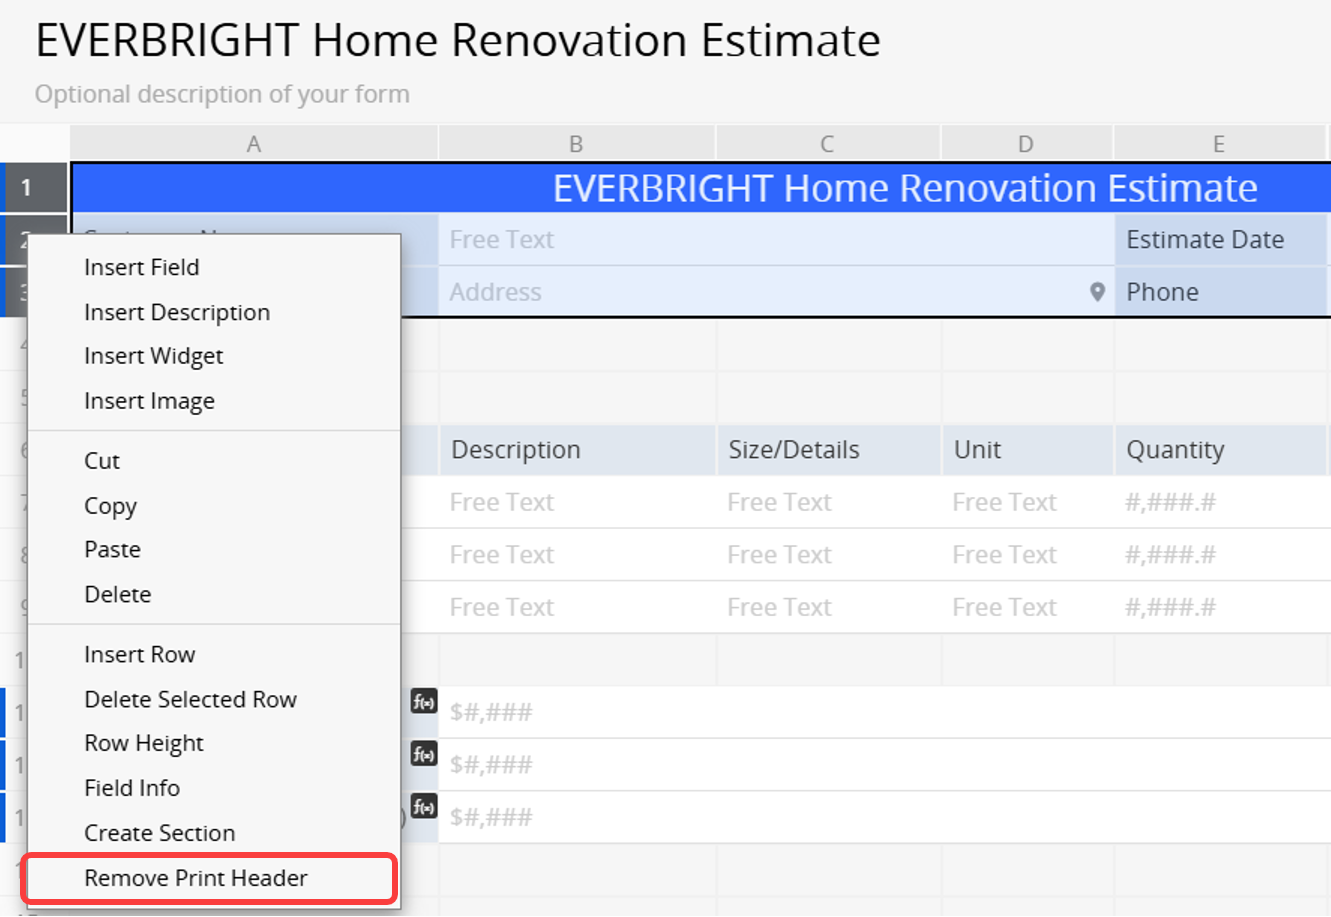
1. Select the blue-highlighted rows, or click the blue area to automatically select all rows set as the header or footer.
2. Right-click and choose Remove Print Header/Footer to remove the setting.
Note: This feature applies only to exports and does not affect the layout of online or embedded forms.
For example, if you have a "Product" sheet and want to insert a page break between the "Total Qty" and "Picture" fields when printing, enter Design Mode and find the "Page Break" component under the "Add Components" tab.

Then, drag the "Page Break" component to the desired position like any other field.

After saving the design, the "Page Break" component will not appear when viewing the sheet online.

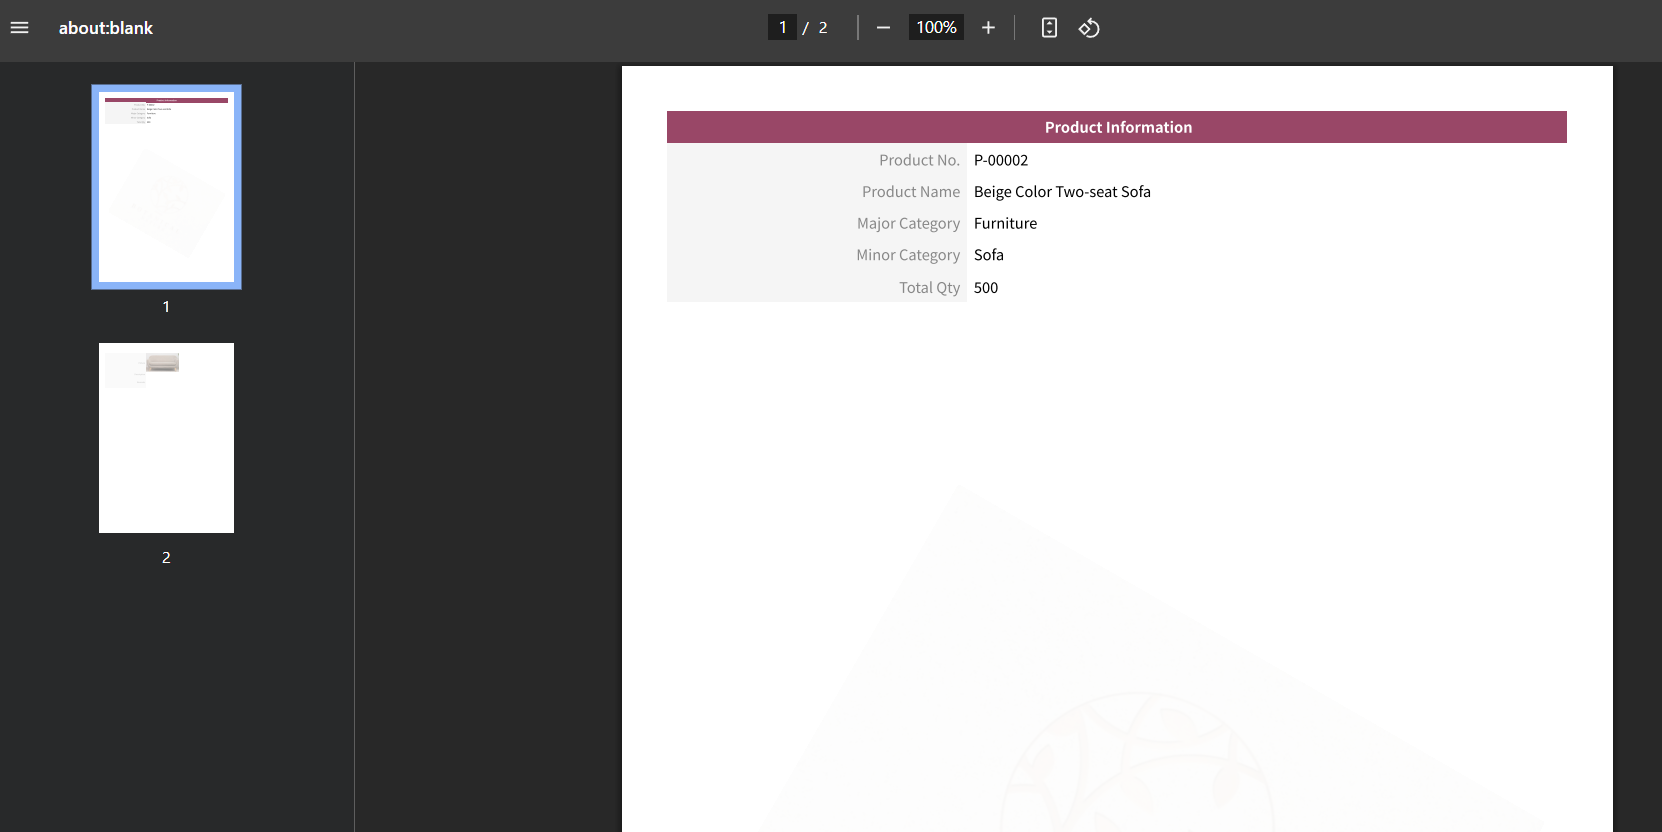
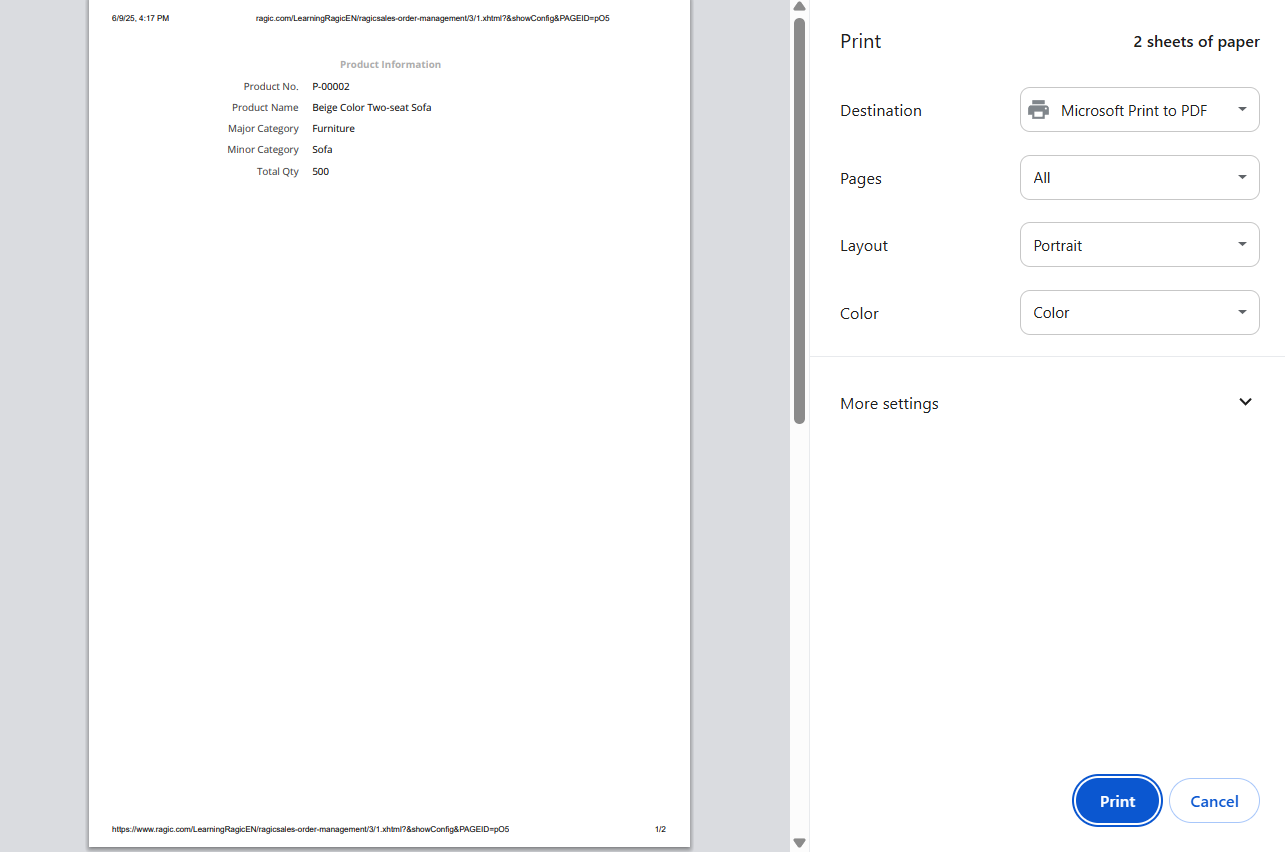
However, when you use the Download as PDF or Printer Friendly feature to export the sheet, the exported file will include page breaks at the specified positions.
Download as PDF:
Printer Friendly:
 Thank you for your valuable feedback!
